
Step 1: Creating a Requisition from an Open Position
Description
• This job aid will walk you through the process of creating a requisition from an
empty position. You will create the requisition, fill out the requisition details, and send the
requisition for approval.
• Each requisition originates from an open position that will hold one hire
• All requisitions will onboard and process one hire, so you will need to create
multiple requisitions if you need multiple hires
• If you have a multiple hire situation, please note this in your requisition along
with the requisition numbers; a recruiter can help link your requisitions together during approval.
This allows you to collect candidates in 1 posted requisition and then forward them to other
requisitions for offer, pre-hire checks, and onboarding without the need for the candidate to
reapply
Help & Support
• For additional questions about requisition creation or multiple hire situations,
please reach out to the recruiting team at recruiting@davey.com.
Step |
Action and Explanation |
Screenshot |
| 1 |
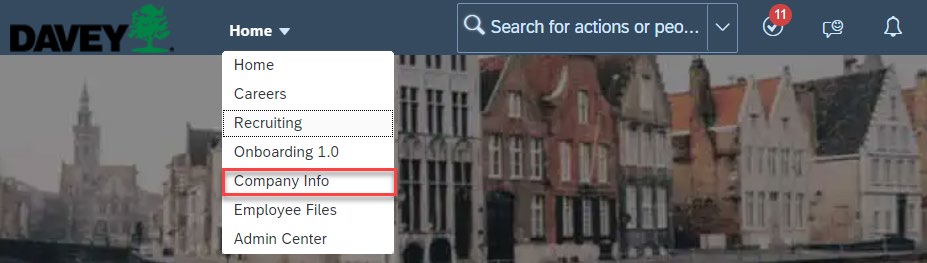
Open your SuccessFactors Homepage, and use the drop-down menu to select Company Info
|
 |
| 2 | Click on Position Org Chart tab | 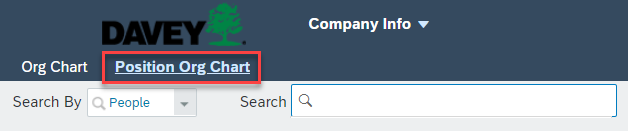 |
| 3 |
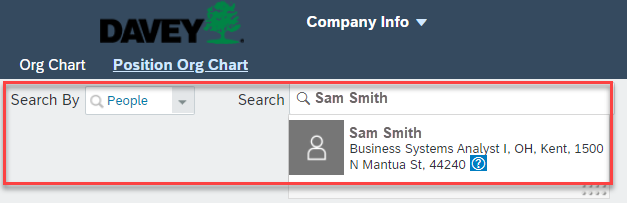
Enter your name in the search box, and click on the search result to see your active You can also search for position number if you change the “Search By” box to positions |
 |
| 4 | Locate the open position on your team | 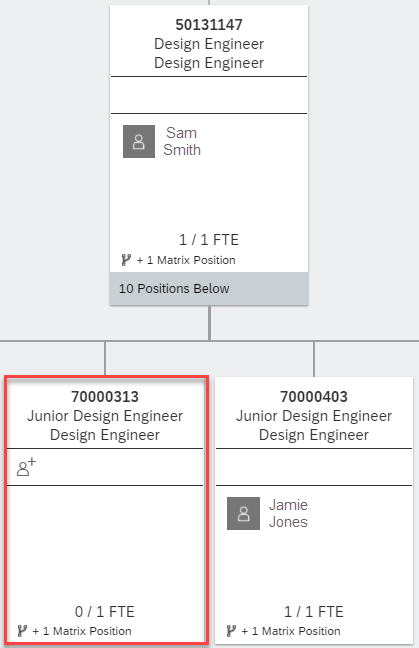 |
| 5 |
Click on the top of the position to open an additional box to the right of the Click on the icon next to “as of Today” to review the position details. You will want to make sure |
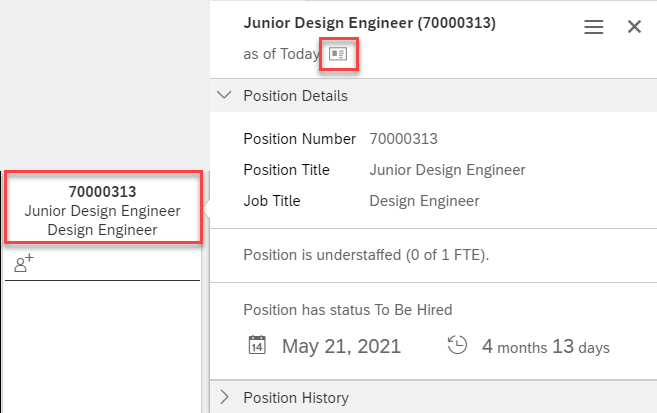 |
| 6 |
After confirming that your position information is correct, click on the three lines Note: if you receive an error, it means that your position is not currently vacant or you do not |
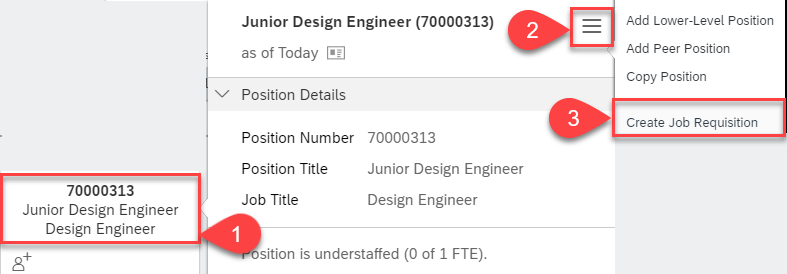 |
| 7 |
Select the applicable requisition template and click Create Note: You cannot change the number of openings; all requisitions can onboard and process 1 hire |
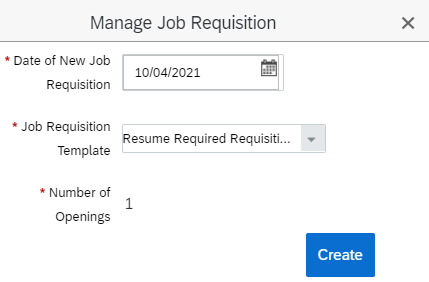 |
| 8 |
Click on the To-Do tile/icon in the top right corner of the screen; click on Note: You may need to refresh your screen to view your new approval |
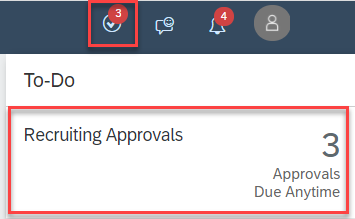 |
| 9 | Select the requisition from the pop-up list of recruiting approvals | 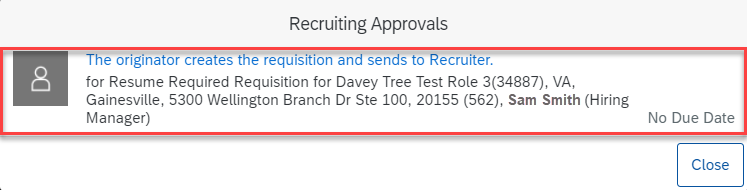 |
| 10 |
Start by reviewing the job posting language by clicking Job Profile; you will have Note: Please list any changes needed to the description in the “Approval Notes” box on the |
|
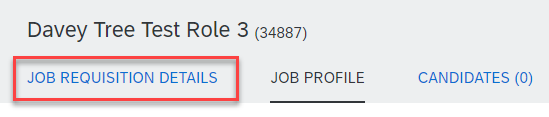
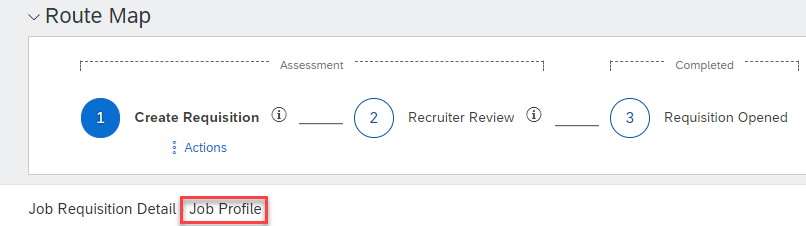
| 11 | To return to the requisition, click the Job Requisition Details option at the top of the screen |
 |
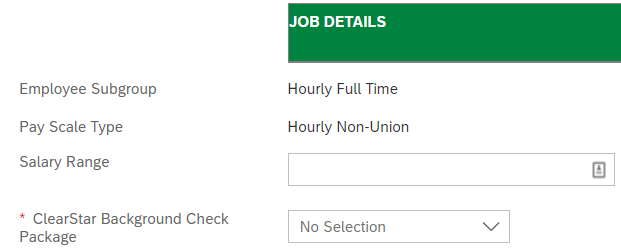
| 12 |
Fill in all other required information on the requisition There are also some optional fields if they are applicable to you |
 |
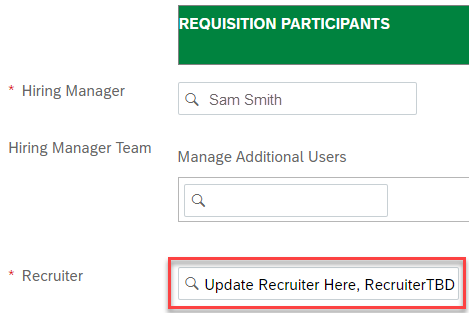
| 13 |
VERY IMPORTANT!! Update the Recruiter field to the name of the recruiter for your NOTE: If you need a reminder, you can check out this list of recruiters and regions here, or reach |
 |
| 14 |
Include any notes or changes for the approver in the approval notes section Note: During the approval step, recruiters can add requested pre- screen questions, make requested |
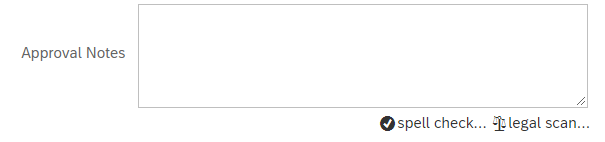 |
| 15 | Send the requisition forward for approval by clicking the Send to Next Step button |  |
| 16 | Click Send to Next Step button again to submit the requisition | 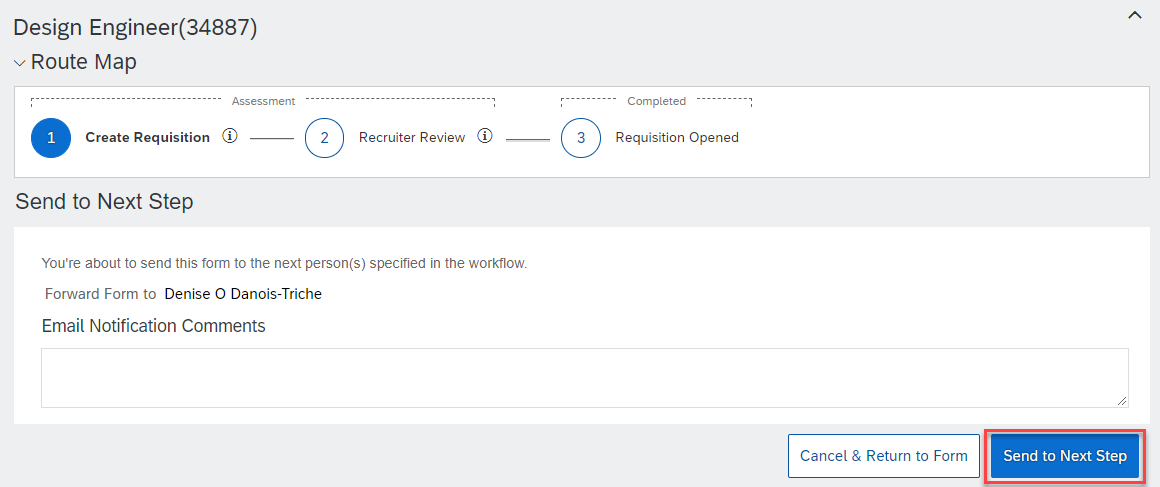 |
| 17 |
Wait for position to be approved and posted; this action will be completed by the listed recruiter NOTE: You will receive an email when your job has been posted |
 |

Comments
0 comments
Please sign in to leave a comment.